intro course lesson 8
Drive Mode
Single frame, Continuous shooting or Timer.
Time to Set the Drive mode.
Drive Mode basics
Choosing a Drive mode is important because it tells the camera how to move from one shot to the next. The choices are: single shot, which means you will need to remove your finger from the trigger after every shot. Continuous shot, which means the camera will continue shooting as long as your finger remains pressed on the trigger. And lastly, Timer mode which allows you to push the trigger and have a delay before the camera shoots (Think family photo on Xmas morning).
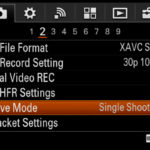
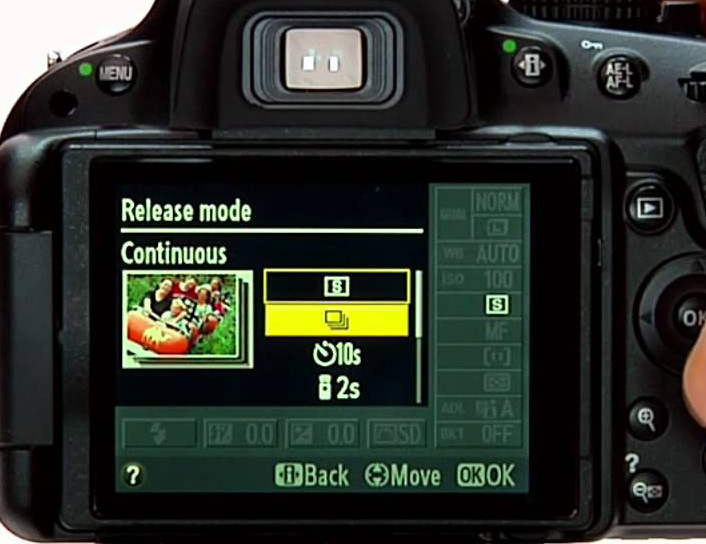
First, lets find and set the drive mode to Single Frame. Below you will find images of the drive mode settings for the most popular camera models but in general you will find a display item that looks like this.
-
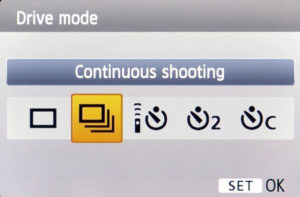
- Drive Mode Options

If your camera is not listed here, it should be very easy to find the Drive mode on your camera. Here are some samples
-
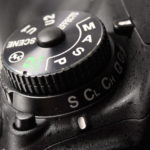
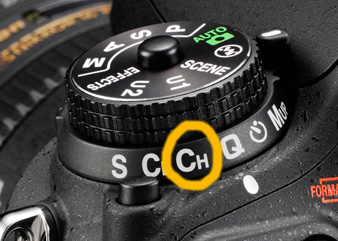
- Nikon Pro Series Drive Modes

-
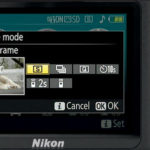
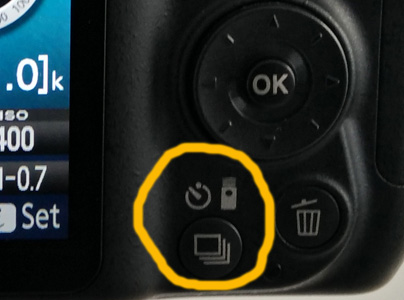
- Nikon Drive Modes

-

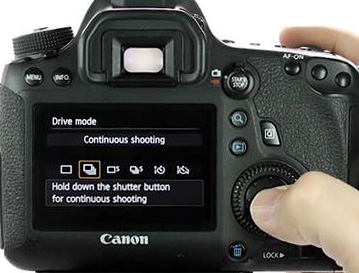
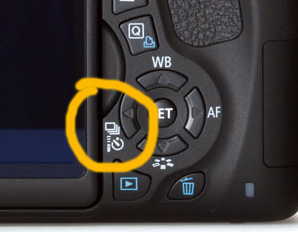
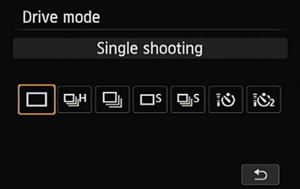
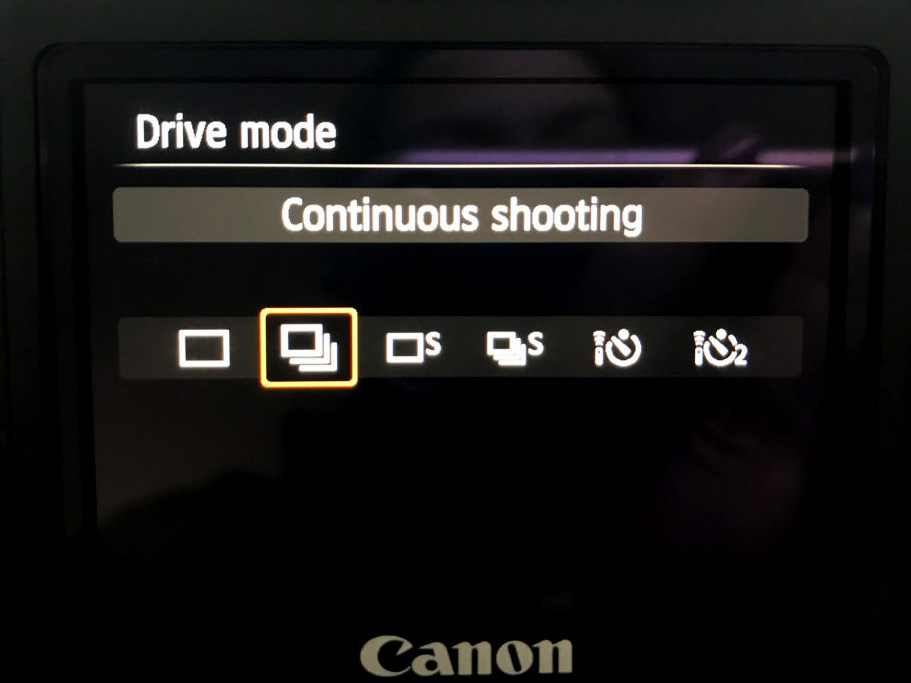
- Canon Pro Series Drive Modes
-
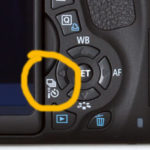
- Canon Rebel Drive Mode
-
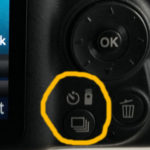
- Nikon Drive mode button
-
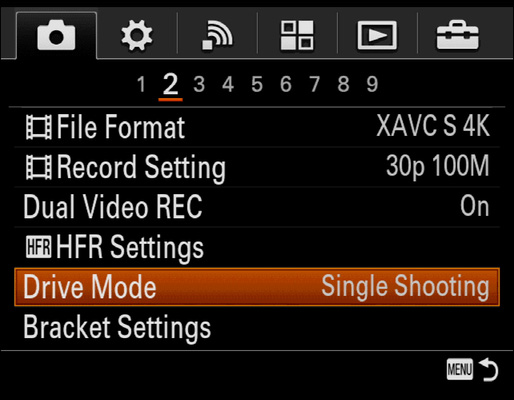
- Sony Drive Mode
Setting Single frame drive mode
Set the drive mode to Single Frame when shooting things like landscapes or when shooting on a tripod.


Exercise: Set the Drive Mode to Single. Take some test shots. Press the trigger and hold it down. You will notice that the camera takes a single shot and it will not take a second shot. You will need to lift your finger off the trigger to and then start again to take another shot.
Setting continuous frame drive mode
Set the Drive Mode to continuous. When the camera is in Continuous Drive, you can push the trigger and keep your finger pressed down. The camera will continue taking photos until you lift your finger off the trigger or the card gets full.


Don’t confuse Continuous Drive mode with ‘Sports’ mode. You will use Continuous Drive when shooting sports, however, you can also use Continuous Drive when shooting pretty much any other subject.
Exercise: Set the Drive Mode to Continuous. Take some test shots. Press the trigger and keep your finger pressed for a few seconds so you can feel how the camera will keep shooting until your finger is lifted.
Pro Tip:
I use Continuous Drive when shooting most subject when the light is low and my shutter speed is slow. By shooting in Continuous sometimes the 2nd 3rd or even 4th photo in a burst will be sharper than the first
Setting self shooting timers
Setting the self timer is in the same menu as the Single and Continuous. Most cameras will give you options for the amount of time delay before the camera shoots. 2 Seconds, 5 Seconds and 10 Seconds are the most common.


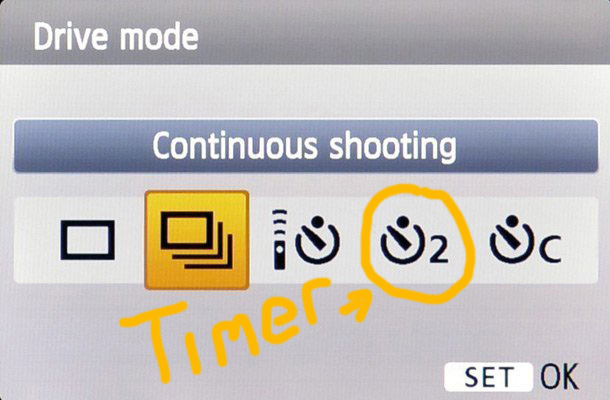
Exercise: Set the timer to 2 Seconds and push the trigger, the camera will either beep, or show a flashing light to indicate that it is delaying the shutter release.
Drive mode and stability
Don’t be afraid to shoot lots. In Continuous mode you will get more photos than you are used to and with more photos you will get more images that are ‘missed shots’. However, with missed shots and taking more shots you are more likely to get a winner.
The most common problem with our images is blur and blur often is caused by the pushing of the shutter release. Shooting in continuous mode will allow the camera to settle in your hand and hopefully reduce the amount of blur caused by pushing the trigger.

