Intro course lesson 6
Correct Exposure
What is correct exposure?
What is correct exposure?
Correct exposure is up to you. Here are some guidelines
Defining the word exposure
Exposure is this word that photographers use to describe the overall brightness or darkness of an image. We say things like ‘the photo is over-exposed’ or the photo is ‘under-exposed’. These are terms that came into being when we use to shoot with this stuff called film. What we mean is the photo is too bright or its too dark.
I think the word exposure complicates a very simple concept. When you look at the image, does it seem too bright or too dark. Ask yourself, do I like the photo or should it be darker or brighter. Simple.
Are you too bright or too dark?
There is no right or wrong when it comes to exposure. You like what you like. However, there are some guidelines to follow to make photos properly exposed.
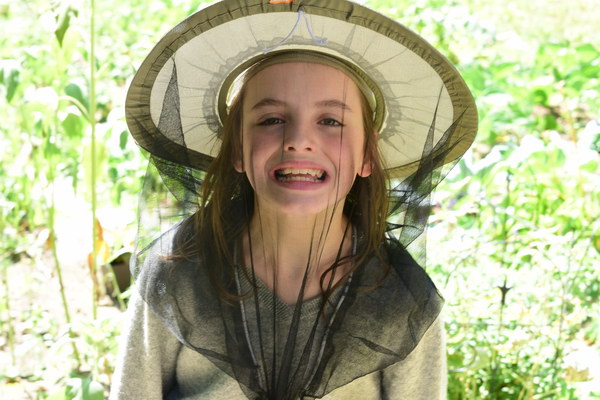
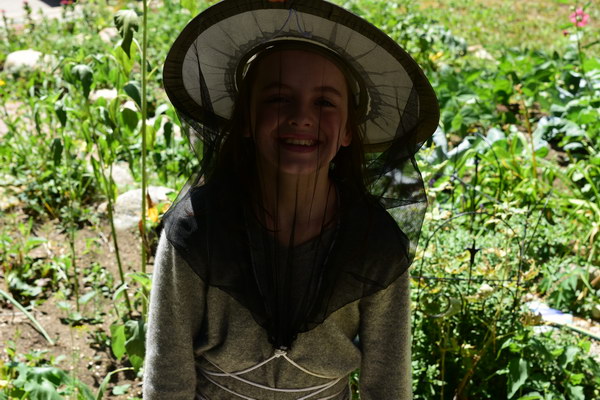
In the first image, the shutter speed is adjusted so that exposure on the face looks correct. In the second shot the shutter speed is faster making the overall image darker. I think its too dark on the face however the background is correctly exposed.
Adjusting Shutter Speed to get it right
All right, lets start playing with the shutter speed. To make the photo brighter or darker, all we need to do is adjust the shutter speed.
In earlier lessons we set the ISO and Aperture. These do not need to change. At this point all that we need to do to adjust the exposure is to play with the shutter speed.
Exercise: Take a dozen different photos. Adjust the shutter speed until the image appears to be the correct light/darkness. Move on to the next subject. (Hint: Don’t stop when the image looks ‘right’. Shoot another shot slightly darker and another slightly brighter)
Here is an example:
[Best_Wordpress_Gallery id=”8″ gal_title=”correct exposure 2″]Impossible Situations
There are some impossible situations that you will run into when it comes to getting the correct exposure. For example, if you are shooting a photo of someone in a living room. Behind them is an open window and its a bright sunny day outside. You take the shot of the person and they look correctly exposed. The problem is that the window and everything outside is completely white. This is an impossible situation. You can only select one shutter speed and you need to expose the image for either the subject indoors where its dark, or the subject outside which is bright. You cannot have it both ways.
This photo is a good example of an impossible situation. The camera settings are as follows. ISO 100, f5.6, 1/1000 second shutter speed. At these settings the couple are silhouetted however the water, the beach and the waves seem correctly exposed. If I changed the shutter speed to 1/500, the photo would be twice as bright. If I went to 1/250 the photo would be twice as bright again. The couple would no longer be a silhouette, however the water, sky, waves etc would also be much brighter.
The bottom line is we can’t have it both ways. I can’t have the dark subject and the bright subject both correctly exposed.

Here is another example of an impossible situation. With this image, the child’s face is in the shade of the hat and the rest of the scene is extremely bright. If I expose the child’s face properly, the rest of the image appears over-exposed or too bright.


