Tiffany’s cardboard cut-out course
Learn how to bring cardboard cut-outs to life!
Let’s get creative!
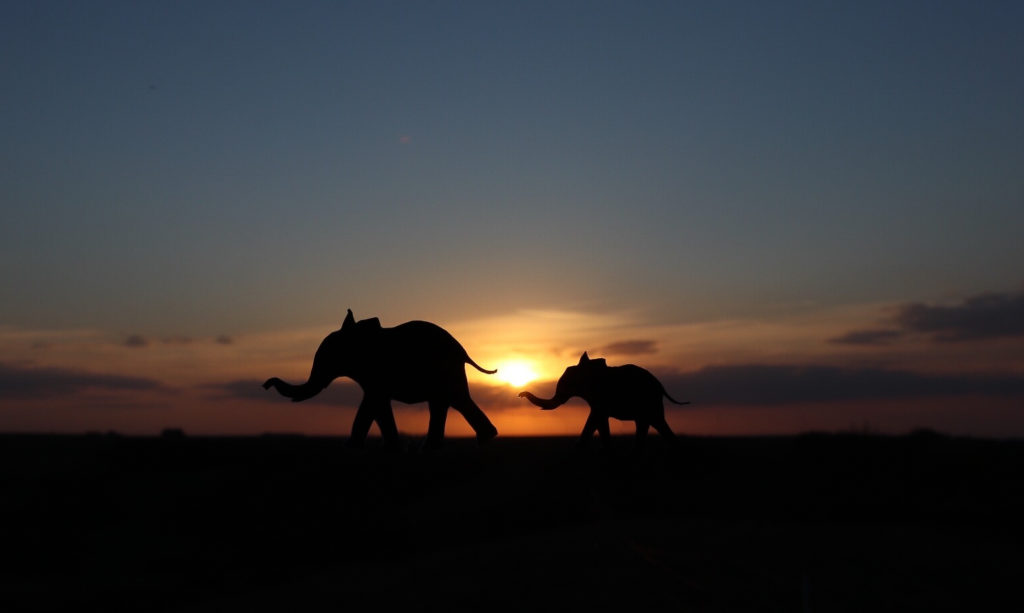
Use cardboard to make amazing silhouettes
Grab some cardboard and let’s dive in!
Concept
Getting creative and adding some fun shots to your photography portfolio!
Preparation
Grab your scissors and a lot of cardboard… or a little! It all can be used!….Hop online (Google is my best friend) and search for any silhouette image that comes to mind. For me, I like to look off of my computer screen and free hand draw it out on the cardboard. You can also print it out and trace it on, or even get real fancy and use a projector. Up to you.
Once you have an image on cardboard, the next step is to CUT – It – OUT!
Settings
You will want your Aperture (F-Stop) at 8 or higher. With silhouette photography, you’ll want a large depth of field so that all of the details are in focus.
Increase your shutter speed! The premise of a silhouette is that you want to underexpose your subject. Start with a shutter speed of 1/125 and go from there!
Keep your ISO as low as it can go! As the sun sets you will be tempted to increase your ISO. It’s ok to raise it slightly but keep in mind that if you raise your ISO, your shot could have too much noise/grain in it. Every camera is different but start at an ISO 200 and go from there.


Technique
When you are ready to take these silhouette photos, there are a couple key things to keep in mind. Make sure to never point your lens directly at the sun. If there is too much light, the light will fall on your subject. The main key here is to have your background lighter than your object. Try aiming your subject with the sun directly behind it to make your silhouette glow.
NOTE: It’s best to take these photos when the sun is right above the horizon, usually at sunset. This usually is the best time because the sun causes the sky to be at its brightest making a greater contrast between your subject and the sky.
Samples