Photographing Fall Colours
Concept
The transition of leaves on trees from summer to fall ramps up very quickly. It’s a bitter sweet time. The changing leaves signal the approaching cold winter months but they are also very pretty to photograph. Using these easy tips, you will get the most vibrant results when shooting fall foliage.
Some Tips for Fall Photography:
Don’t overexpose.
It’s very easy to make fall photos too bright. Go a tad darker than you think you need to and the colours will really pop. In the first image, the shutter speed is 1/500 and in the second image, the shutter speed is 1/125. Note: Since the shutter speed is slower the photo gets brighter, however, the colours actually get less vibrant.
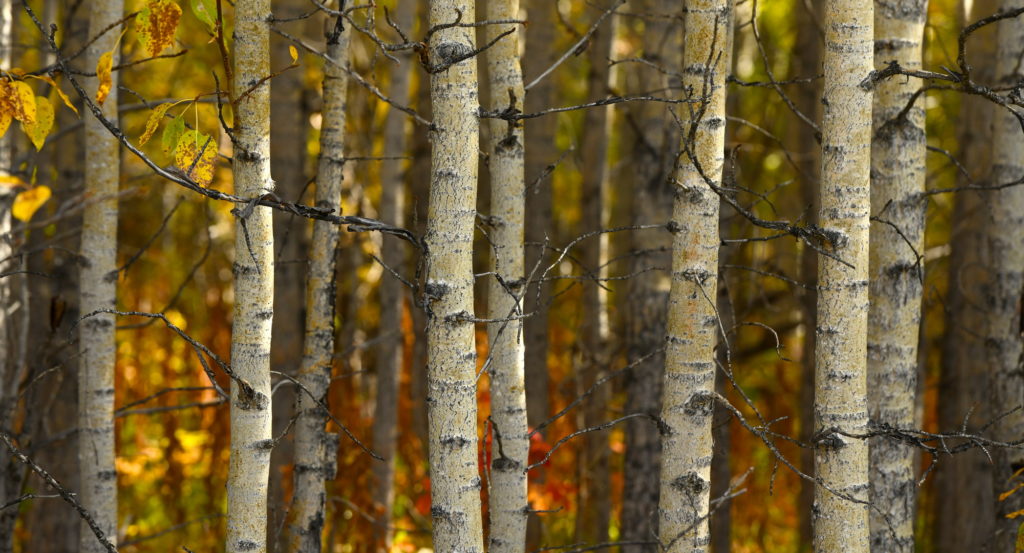
Get in close.
Fill the frame with vibrant colours. Think about the lesson on SCUFI. When the entire photo is filled with colour it will have more impact than if there is just a small splash of colour.
Subject
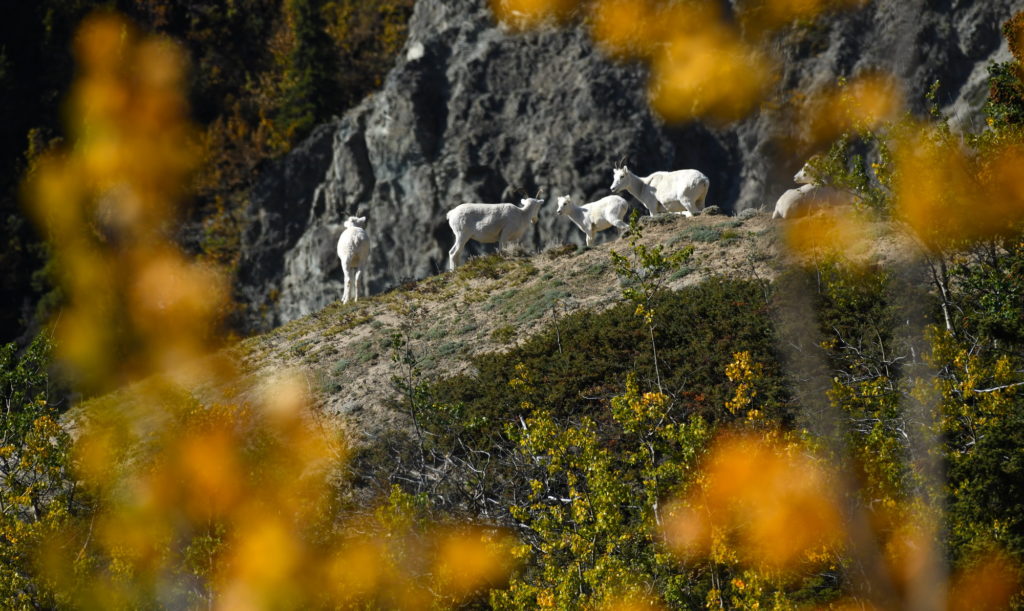
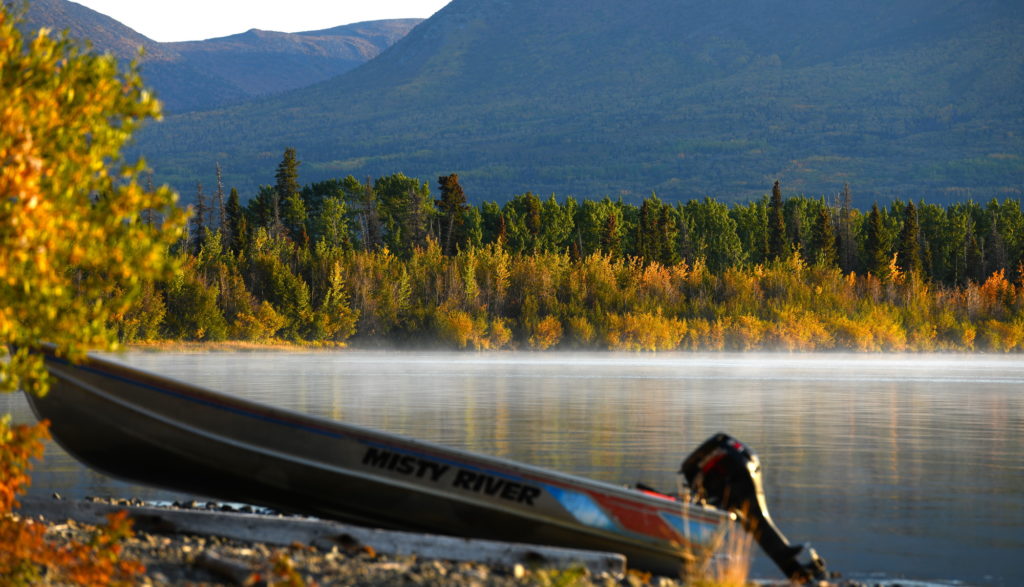
The colours are pretty and all, but you need a great subject as well. Use the colours as backdrops or foregrounds for interesting subjects. If all of your fall colour photos are just photos of leaves and trees, they will get boring quickly. Use these great textures as backdrops or foregrounds for interesting subjects. Note: Think of the fall colours as a means of establishing a time for your photo. Both of these images are photos taken in Autumn, rather than photos of Autumn.
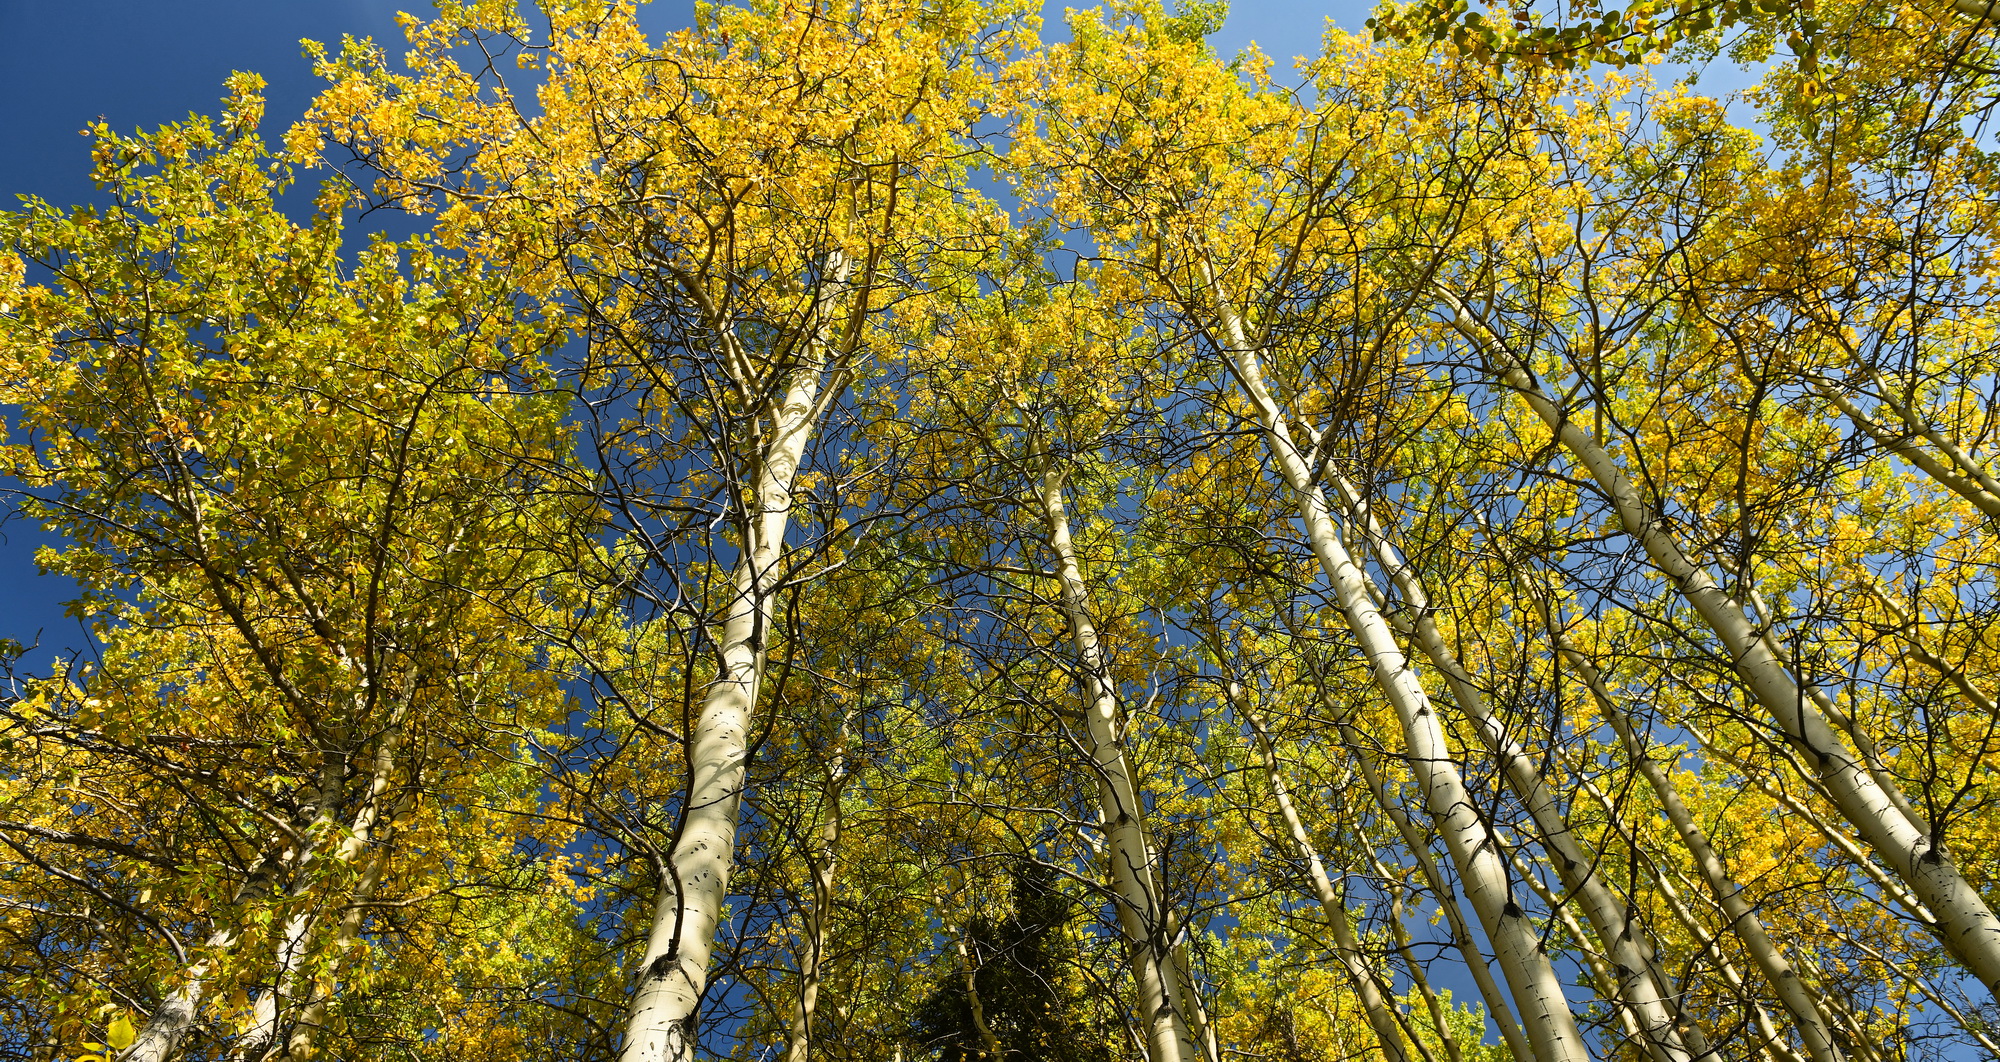
Sky
Combine colourful trees with the vibrant blues of the sky for dramatic results. If the sky is blue, use it to provide a great contrast to the colours in the trees.

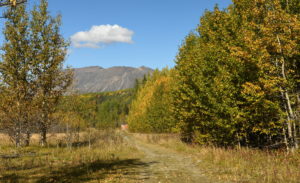
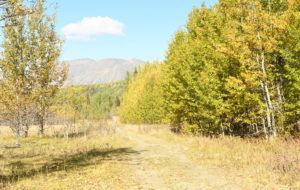
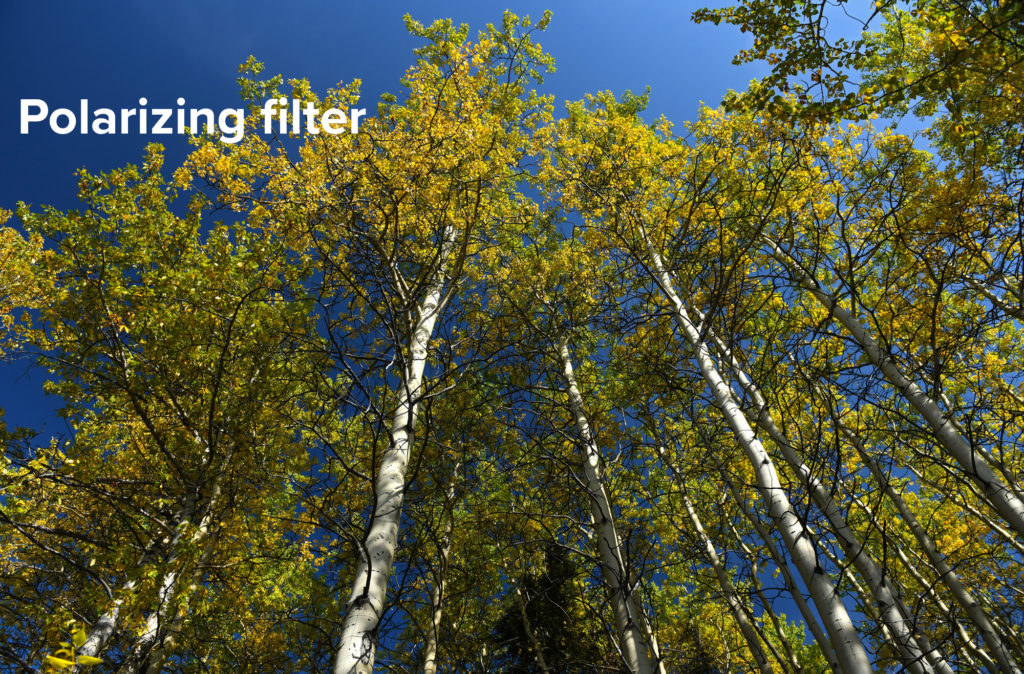
Polarizer
Use a circular polarizing filter. Fall is the perfect time to experiment with a polarizing filter. These two shots show how dramatic a polarizing filter can be. Visit the bonus content lesson on using a polarizer.

Shoot TOWARD the sun.
Try shooting toward the sun to get the maximum colour pop from those beautiful leaves. NOTE: When sunlight hits the lens, the photo will be ruined. You must shade the lens to prevent direct sunlight from hitting the lens.


Pro Tip:
If your lens has a hood, you should be using it all the time. If your lens did not come with a hood, then chances are that there is no hood available for it and you will need to get creative with protecting the lens from direct sunlight.